Kitchen Therapy


5 Comments

Australia Day Classic: Pavlova

What is more Australian than a BBQ and Pavlova?

I’ve made many (oh so many!) different pavlova recipes from a variety of books and magazines but have found the following works best.

Firstly, my recipe has 12 egg whites, it makes a decent sized pavlova. I wouldn’t even bother making a smaller size!

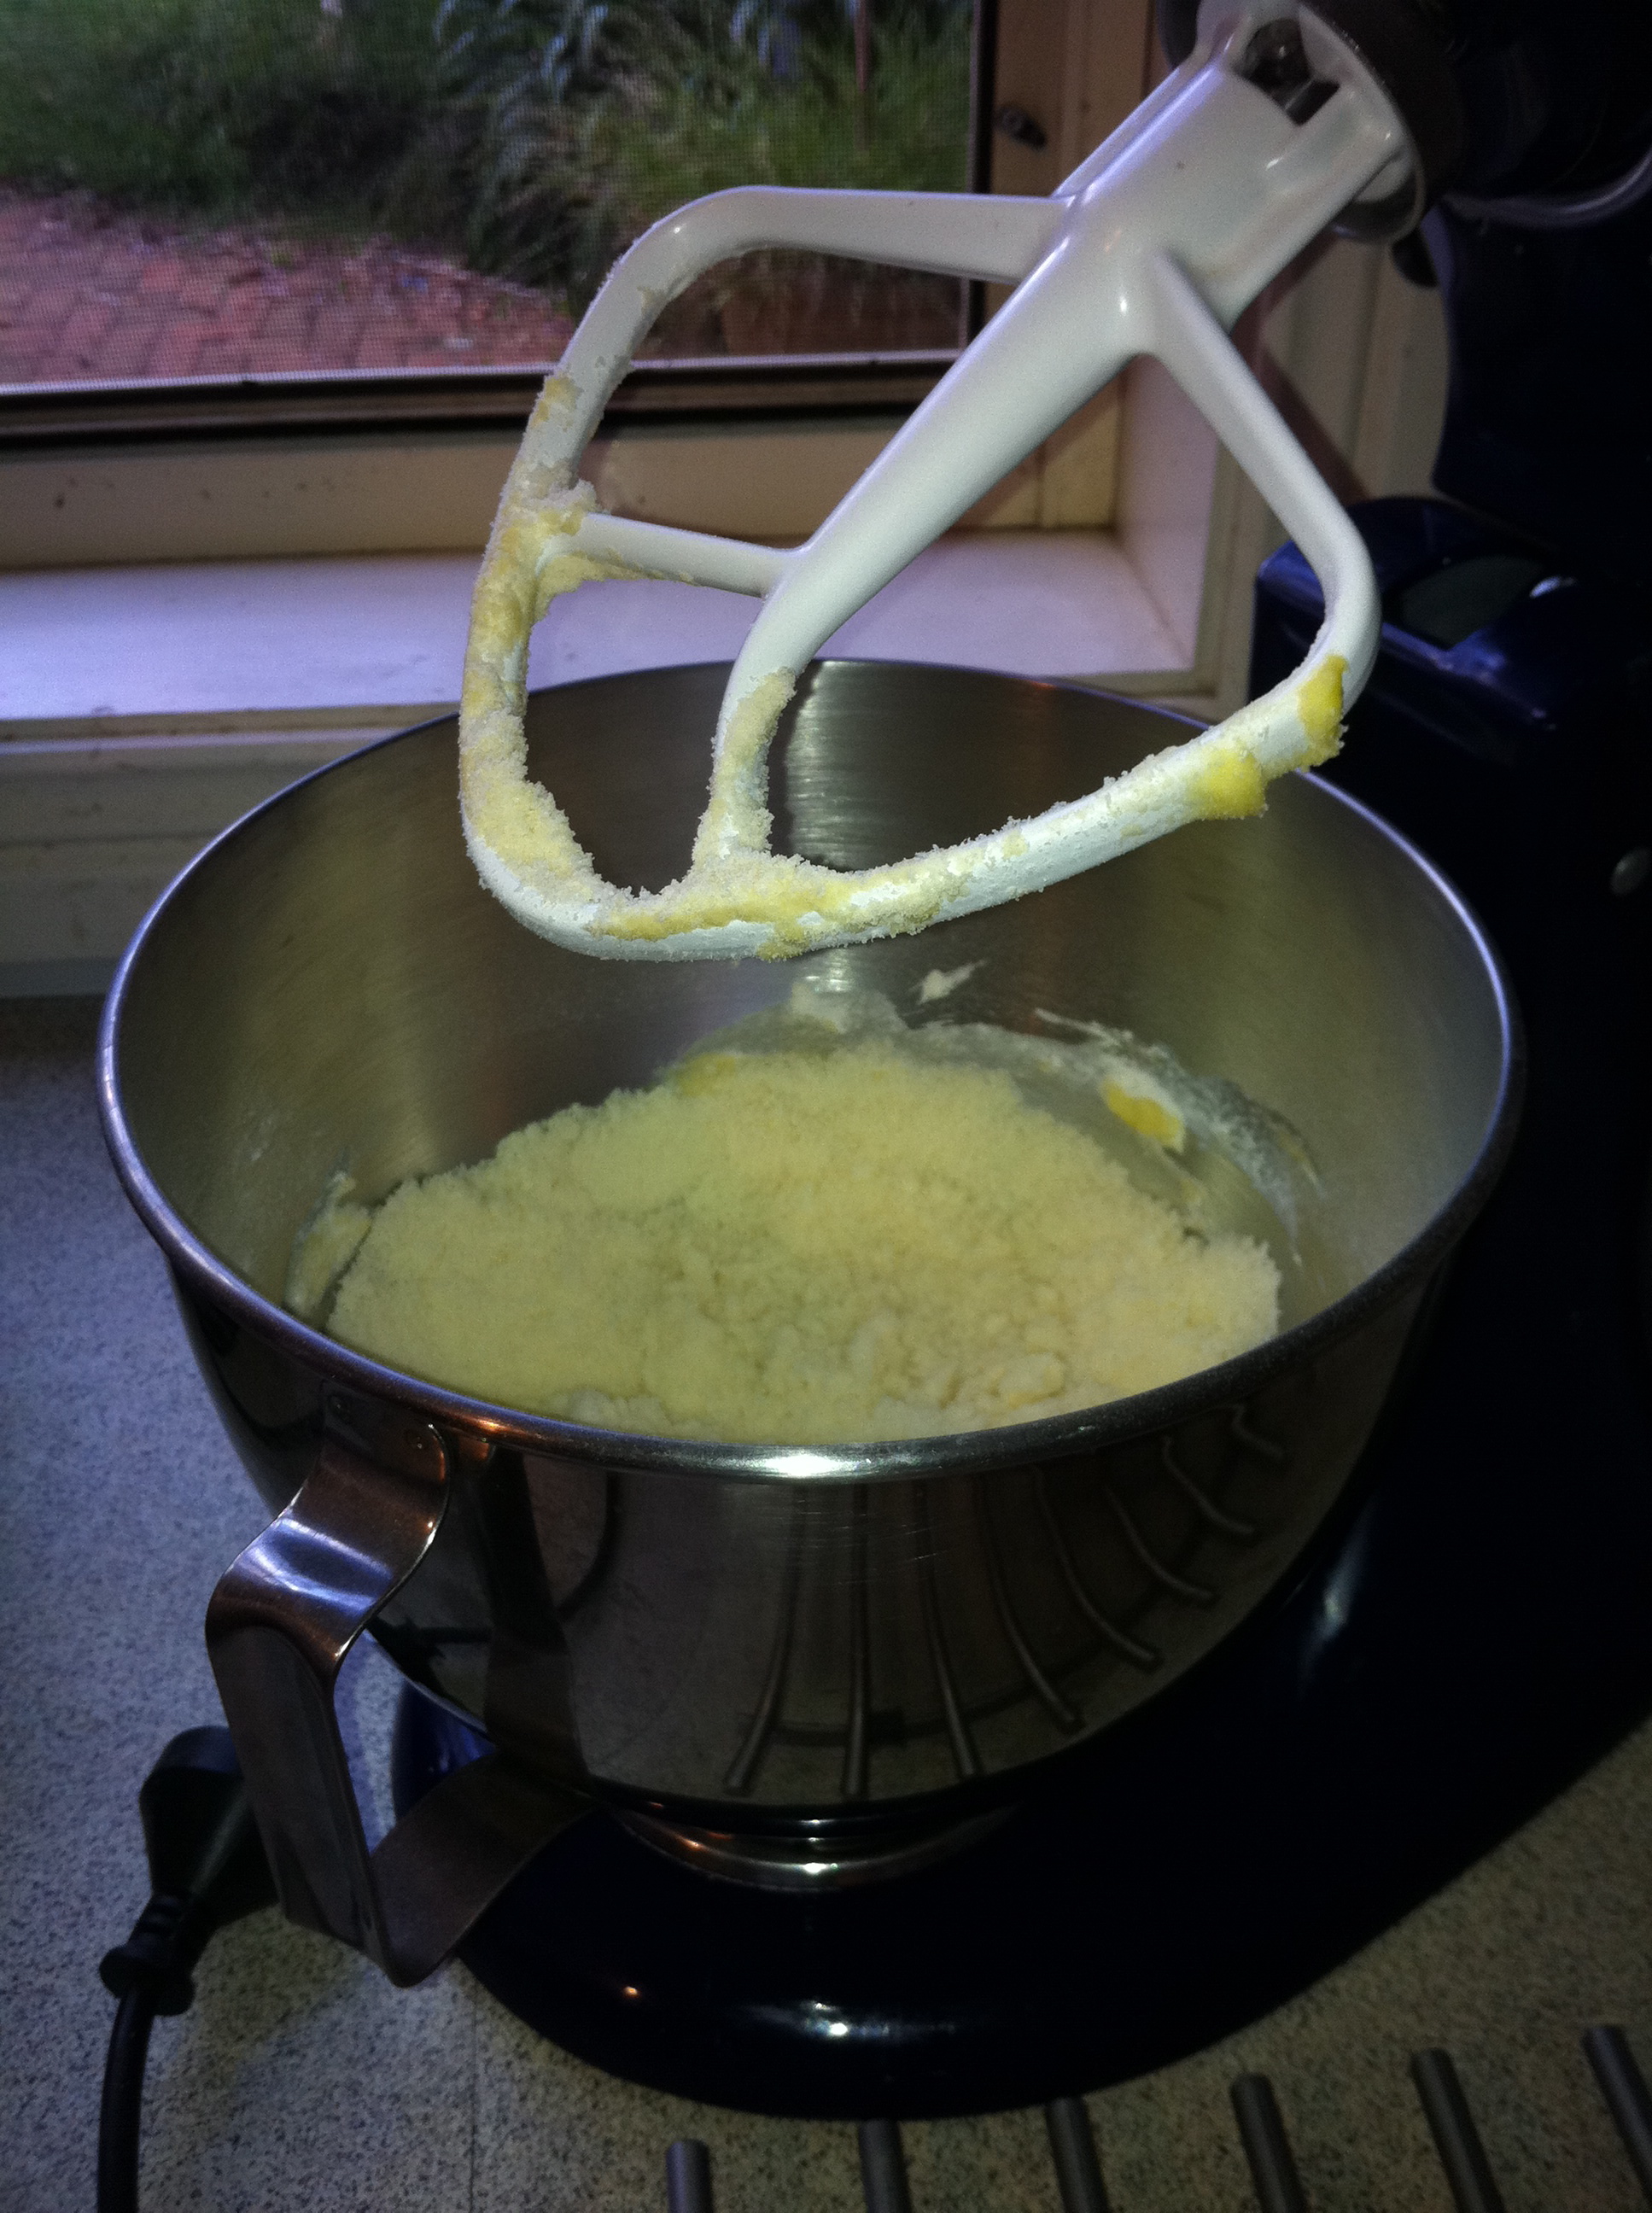
Once I’ve added all the caster sugar to the egg whites I let the Kitchen Aid mixer run for a good 10-15 mins, beating the mixture until it’s fairly glossy and firm.

Once it’s baked, I turn the oven off and open the door slightly and then leave it until it gets cold in the oven.

Most of the time I bake the shell the day or night before and decorate it with cream and fruit the next morning.

Ingredients:

12 Egg Whites

1 2/3 cups Caster Sugar

300g Thickened Cream

2 Tbsp soft icing sugar

1 Punnet Strawberries sliced

4 Kiwi Fruit diced

4 Passion Fruit


Method

1. Pre-heat oven to 150 degrees.

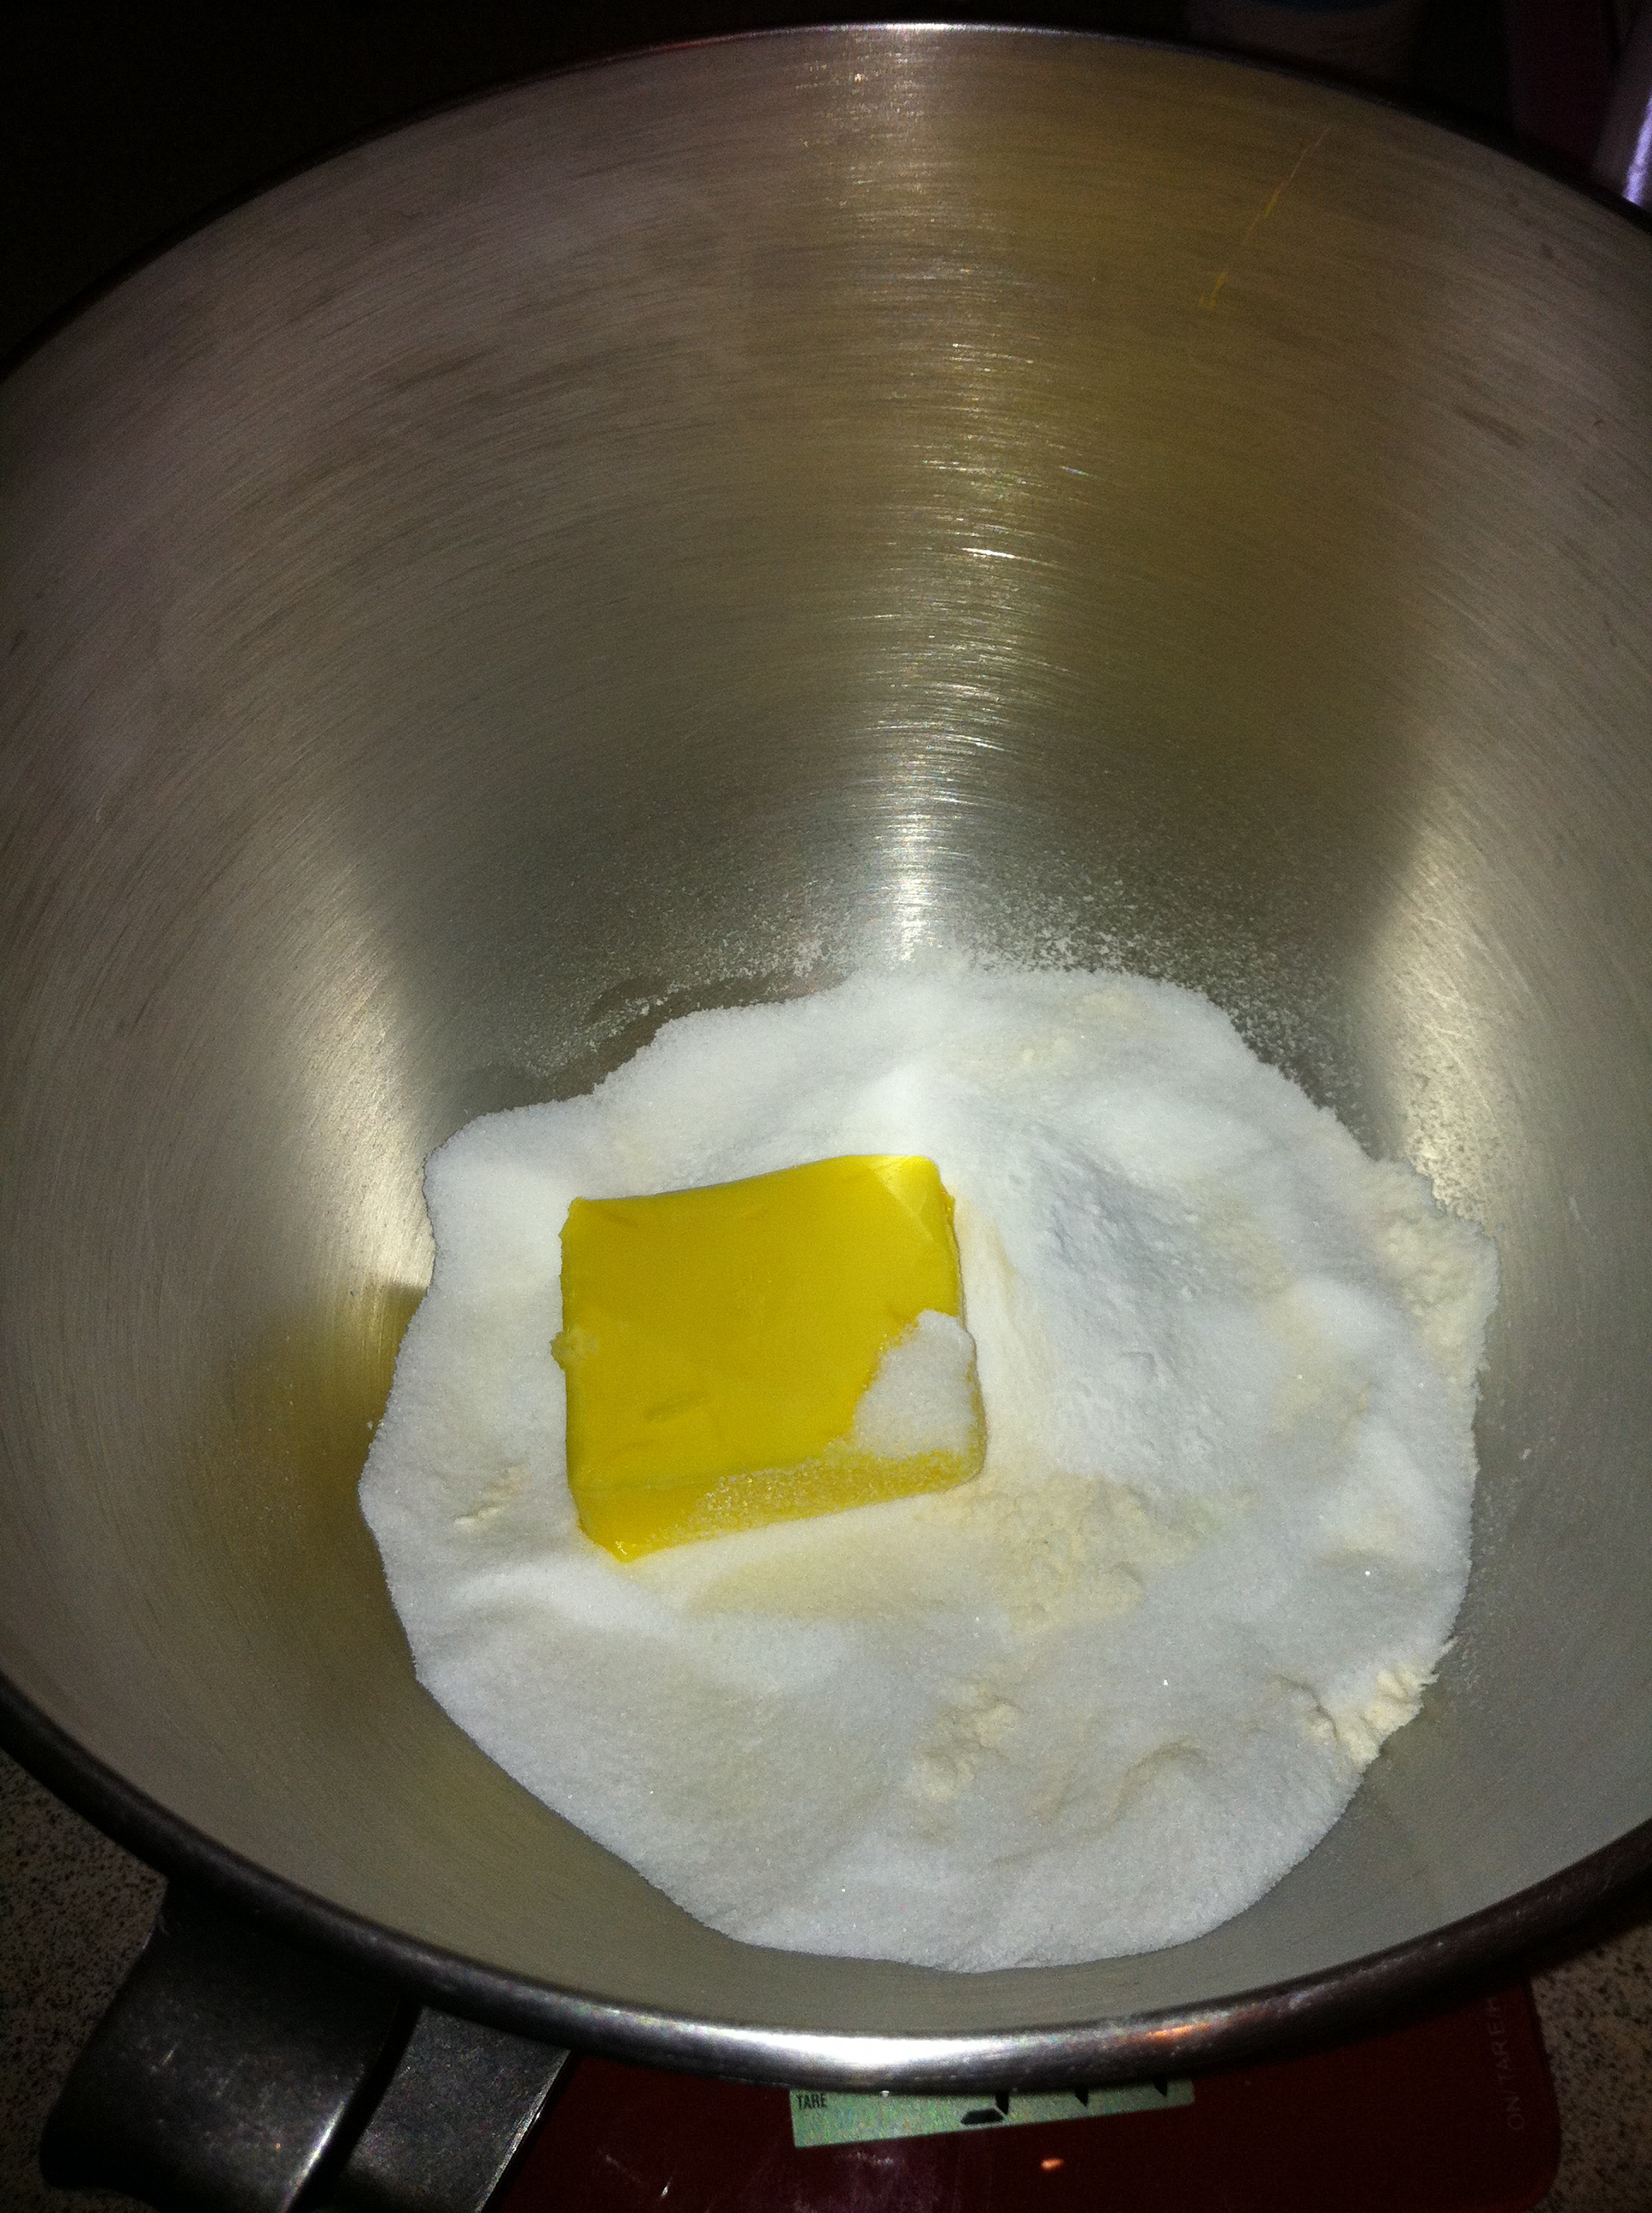
2. Whip egg whites until firm.

3. Add caster sugar a spoonful at a time until it has all been incorporated.

4. Set the Kitchen Aid at a speed of 6 (medium) and leave it! I walk away and check on how it’s going every few minutes. You want the mixture to be thick and glossy. (I’ve walked away and forgotten the mixture many times and have returned each time scared of over-beating, but it has never happened).

5. Pile the mixture onto a baking tray lined with baking paper.

6. Place into oven and after about 10 minutes, lower the temperature to 120 degrees and cook for about 75-90 minutes.

7. I turn oven off after this time and open the oven door a fraction. I leave the pavlova in there until it goes cold (a few hours or overnight).

8. Once cold, I whip the thickened cream until stiff peaks form then add icing sugar.

9. Spread the whipped cream over the pavlova.

10. Scatter strawberries and kiwis on top then spoon passion fruit over pavlova.

ENJOY!


15 Comments

Michel Rostang’s Double Chocolate Mousse Cake

Just joined French Fridays with Dorie! Very excited!

I’m kind of new to this whole blogging thing. However it didn’t take me long to find some amazing sites!

And even less time to work out what most of these guys had in common was an appreciation for Dorie Greenspan.

I have to admit I had never even heard of Dorie prior to this but after looking at pics of some of the amazing stuff being cooked from her books, I found myself eagerly awaiting my Amazon delivery of a few of her books!

So this is my first French Fridays post and I just discovered the Problems and Questions page which I read in retrospect.

I was lucky the one cake pan I had was exactly the right size and my cake didn’t leak!

And while I’ve been reading about the all the baking being done in snow storms and oohing and aahing over fairytale pics of snow-covered fields and trees, I forgot that I live on the Northern Beaches of Sydney Australia! Our 6 week summer school holidays are coming to an end with the kids back at school Jan 31st but most of our days are spent here…

Doing this…

You may be wondering what in the world I am on about!

What I’m trying to say is… it is hot down under in Oz!

So to complete this week’s recipe I started cooking after 9pm when the humidity and heat isn’t so bad (sometimes) and chose the option to chill it over night.

I was up and baking the rest of the cake at 6am the next morning before another full day at Manly Beach and the water slides!

The kids were exhausted and famished after another 10am-5pm beach day so they devoured the cake.

The final verdict was “delicious!” from myself and my 10-year-old son, while my husband and 13-year-old daughter thought it needed to be more sweet!? (Each to their own I guess!)

Thoroughly enjoyed taking part in this week’s event and I found that while participation is voluntary having some accountability and a set day and time to complete the recipe by, motivated me into action.

Have been enjoying reading all the other posts on Michel Rostang’s Double Chocolate Mousse Cake at French Fridays With Dorie!

And loving the snow pics, but still stopping to appreciate this…

The Aussie summer and Manly Beach at dusk!


4 Comments

Golden Cheesy Bread Rolls (Kiflice)

“Until you know that life is interesting – and find it so – you haven’t found your soul.” – Geoffrey Fisher

Why does baking feel so incredibly satisfying and nourishing to the mind and the soul?

Or is that just me?

I get excited finding and planning my next cooking project, buying the ingredients and then carving out the time to play!

I wrote about Mihaly Csikszentmihalyi and his studies about being in what he calls “flow”. Being engrossed in an activity that causes time to disappear, our problems and worries to melt away and we are no longer aware of our surrounding other than as they related to what we are doing. Being engaged in an activity that both challenges us and rewards us, an activity that gives us a sense of accomplishment and improvement, this is his definition of happiness.

Given this definition, then baking, cooking, creating something from scratch, is so wonderfully important to me because it makes me happy!

It’s as simple as that!

Could there be any better reason?!

Making these kiflice, which are Serbian bread rolls, brought back so many childhood memories, they made me feel closer to my Serbian dad who is in rehabilitation after suffering a heart attack and a stroke and they helped me feel closer to my heritage and my family!

Amazing that these little golden bread rolls could do so much!

I saw them when they were featured on FoodPress by Things We Make and followed their link to Maja from Cooks and Bakes who posted her recipe in Serbian and English!
They wouldn’t leave my thoughts and I knew I had my next baking project!

I made them with feta and they turned out magnificent! These little cheese rolls brought happiness not just to me but also my dad!
I’m already planning my next batch with fried leeks and goat’s cheese feta!

As the quote from Geoffrey Rush says, I hope you find that special something which makes your life interesting and in turn find your soul!


2 Comments

Prosciutto, Feta and Ricotta Tarts

These are absolutely delicious! Golden, crispy, savoury bites that are incredibly satisfying fresh from the oven or straight from the fridge!

Ingredients

6 Sheets Filo Pastry
Olive Oil Spray
5 Slices Prosciutto or Ham, finely diced
1 Onion, finely chopped
1 Tbs Flat-Leaf Parsley, finely chopped
120g Ricotta
100g Feta
375ml Pouring Cream
3 Eggs

Method:

Preheat oven to 180C.


1. Lightly grease 12 hole muffin pan (we used Olive Oil spray).


2. Cut 12 x 1cm wide strips of baking paper and line each muffin hole so it extends beyond the rim so it’s easier to remove the tarts.


3. Stack 3 filo sheets (spray between each sheet with oil). Cut stacked filo sheets into 12x10cm squares. Spray one square with olive oil and place another square diagonally on top to form a star shape. Press into muffin hole and repeat with remaining 3 filo sheets until 12 tart shells are complete.


4. Combine prosciutto (or ham), onion, parsley, ricotta and feta in a large bowl then season with salt and pepper.


5. Spoon mixture into tart shells.


6. Whisk cream and eggs, pour over the ricotta mixture.


7. Bake for 25 minutes or until set. Stand in pan for 15 minutes before serving.


Leave a comment

Strawberry Cheesecake Cupcakes

 Oh My Goodness!

We have been working our way through the Hummingbird Bakery Cookbook at our house.
We love the Banana Bread which tastes just like the slices you can buy in most of the nicer cafes around Sydney. The golden moist Blueberry Muffins disappear quickly in our house. The kids pack them in their lunch boxes and share them with friends.
Until now I’ve stuck to making the same few things from this book, but we’ve decided to live on the wild side and cook as many of the recipes as we can! 
So after a day at Manly beach, we came home and decided to continue our family time in the kitchen. We voted on which recipe to make next and these cupcakes were the clear winner. I didn’t really have any expectations and have never really been a cheesecake fan, I’m more of a European layered cake kinda girl. After dinner, I served these babies up and could hear the exclamations of delight as my family bit into these light and luscious morsels of heaven! The crumbed digestive biscuits on top have you convinced you’re eating a cheesecake, but it’s so much better than that!

Ingredients

120g plain flour
140g caster sugar
1 1/2 teaspoons baking powder
a pinch of salt
40g unsalted butter at room temperature
120ml whole milk
1/2 teaspoon vanilla extract
1 egg
12 large strawberries, chopped into small pieces
200g digestive biscuits

For cream cheese frosting
300g icing sugar
50g unsalted butter at room temperature
125g cream cheese

Method

1. Preheat oven 170 degrees celsuis or 325 degrees farenheit.

2.Mix flour, sugar, baking powder, salt and butter on low speed until you get a sandy consistency.


3. Add milk and vanilla extract, beat on medium speed until all ingredients are well mixed. 

4. Add the egg and beat well for a few minutes to make sure it’s well mixed


5. Divide the chopped strawberries between the paper cases.


6. Spoon the cake mixture on top and bake for 20-25 minutes.


My husband ate about a third of the mixture and I had to shoo him away! 


7. Put broken up digestive biscuits in a food processor and process until finely ground (you can see Emily’s rose cheeks after our beach fun!) 


8. To make cream cheese frosting beat icing sugar and butter until the mixture is well mixed.  


9. Add cream cheese and beat until totally incorporated. Turn mixer to medium and beat for another 5 minutes until frosting is light and fluffy but careful to not overbeat and make it runny! 


10. When cupcakes are cold spoon cream cheese frosting on top and finish with a sprinkling of the biscuits.


ENJOY!

(Recipe pretty much as it appears in Hummingbird Bakery Book) 


Leave a comment

Cafe Style Banana Bread!

                                                           
Love this Banana Bread!

It tastes just like the banana bread that can be bought in many of the nicer cafes around Sydney.
I add an extra banana to what the recipe calls for, it makes it moister and richer in flavour.
(The last time we made it with the kids we threw in an extra two bananas to what the recipe called for and it came out pretty wet and gooey, however by the next day it tasted fantastic!)

Don’t know about you but we always end up with mangy leftover bananas!
Since I’ve purchased the Hummingbird Bakery Cookbook I actually get off on watching the last few bananas turn spotty and brown.
I feel like Nigella, the Domestic Goddess herself, turning leftover waste into something magnificent!

It is so easy to make, my almost 3-year-old son Jake, helps me measure all the ingredients and then I hand them over to him and he adds them in!
Seriously easy and delicious. The entire loaf is gone by the next day!

The Ingredients

270g soft light brown sugar
2 eggs
200g peeled bananas, mashed (200g measures about two bananas and I throw in an extra one as I like it more moist).
280g plain flour
1 tsp baking powder
1 tsp bicarbonate soda
1 teaspoon ground cinnamon
1 teaspoon ginger (I never add this)
140g unsalted butter, melted

23x13cm loaf tin

Method

1. Preheat the over to 170 degrees celsius.

2. Grease and line tin with baking paper.

2. Put the sugar and eggs in a mixer and beat until well mixed

3. Add the bananas and mix.
  

4. Add the flour, baking powder, bicarbonate soda, cinnamon and ginger (if you are using it) to the mixture. Mix it thoroughly until all the dry ingredients have been incorporated into the egg mixture. 


5. Pour in the melted butter and beat until all the ingredients are well mixed. Pour the mixture into the prepared tin and smooth over with a knife. Bake for about 1 hour or until firm to the touch and a skewer inserted into the centre comes out clean. Leave the cake to cool slightly in the tin before turning out onto a wire cooling rack to cool completely.  

ENJOY!